Setting up Google Nest WiFi with Vigor 130 modem on EE Broadband
Our household internet is with EE. Why? Well we were on BT Infinity for a few years, with its supposed high speeds and availability, but never got anywhere near the promised data speeds, so decided to cut costs and give EE a try. I thought it couldn’t be too much worse at least, and the savings would be worth the risk. We’re not extreme gamers or anything, but like many families we rely on reasonable bandwidth and speeds for our media consumption, communication and general domestic geekery - we’re fully smart speaker-ed up and it’s been a fair while since we’ve had either a landline or a TV aerial. EE is part of BT, and runs on the same cable network - I went for their top fibre plan, which advertises slower speeds than BT’s equivalent, but when we switched we found not only that we were paying a lot less per month, but that both our download and upload speeds actually doubled. So far so good.
We received an EE Smarthub when we signed up - these are basically the same as BT’s Smarthub, just with different branding and firmware. They are extremely easy to set up, dumbed down and pretty much plug and play. However, while definitely not the worst out there in terms of design, they don’t look particularly great in a home context. They’ve got a sort of cheap 00s tech aesthetic, all black plastic and grilles.
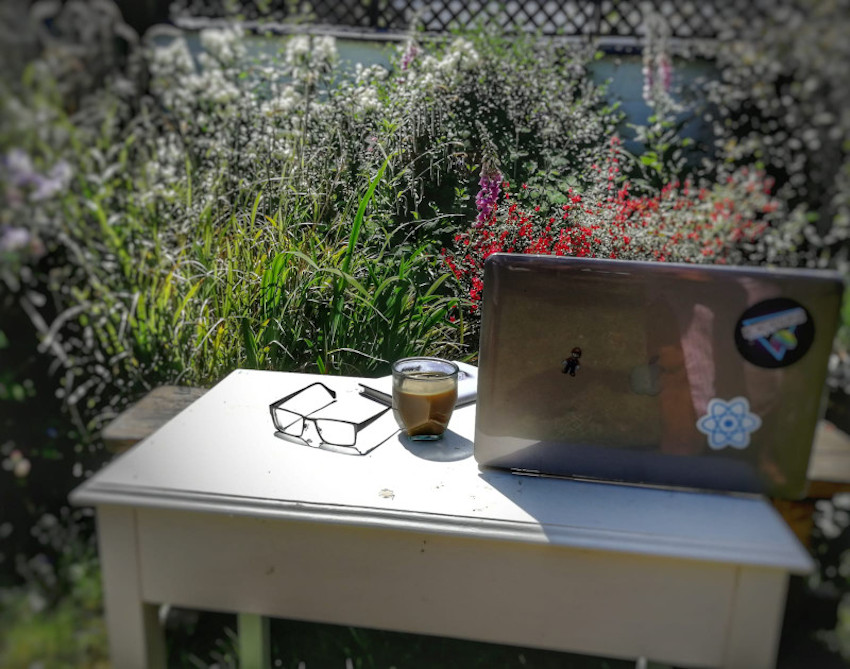
With the whole family spending a load more time working from home lately, plus the balmy weather beckoning us outside, we found the WiFi didn’t quite reach far enough for back garden laptop sessions, nor sunlounger tablet Plex sessions for that matter, nor even into the kitchen for Slack team meetings while preparing that all important cuppa.
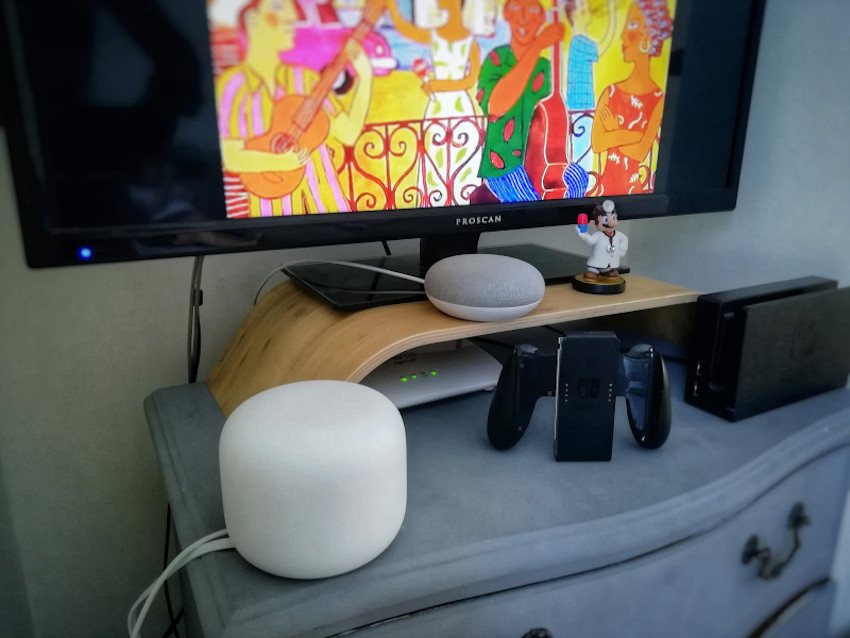
I therefore started to research Wifi extenders and mesh networks to see if we could get a bit of additional range. We’re already heavily invested in the Google Home ecosystem, so we decided to try out the Nest Wifi pucks. They also have the advantage of looking great (no more 00s black plastic vibes!) They don’t have a modem built in, so I also ordered a Draytek Vigor 130, currently reasonably priced in the UK via the likes of Amazon or Box, and while the external design and build won’t win any awards, it’s pretty small so I figured it would be easy enough to hide away under the telly.
Now I’m pretty geeky - I tinker with code for a living - but I have precisely zero interest in networking, in fact I’m yawning just thinking about it, so I was also liking the idea that everything would be relatively straightforward to set up. When our deliveries arrived a couple of days later, and I found myself spending the whole evening on Google/EE/Draytek forums troubleshooting how to make everything play nicely together, it became clear to me that that’s not quite the case.
The rest of this post is here to collect all the garnered info in one place - maybe it will help point someone else in the right direction, as well as future me in case I need to repeat this!
So, without further ado, here are the steps I took to set up our Google Nest Wifi Mesh Router with a Draytek Vigor 130 modem on EE fibre broadband. As always, YMMV.
-
First off, you’ll need to get your EE broadband user name from the Smarthub, so don’t disconnect that yet. Login to the Smarthub via a browser, ours was at
http://192.168.1.254, then select Advanced Settings/Broadband (you’ll need your login and password which should be printed on the router, unless you’ve changed them from the default). Your EE broadband user name will look something likePRODUCTIONHQNUN123456789@fs. Make a note of it.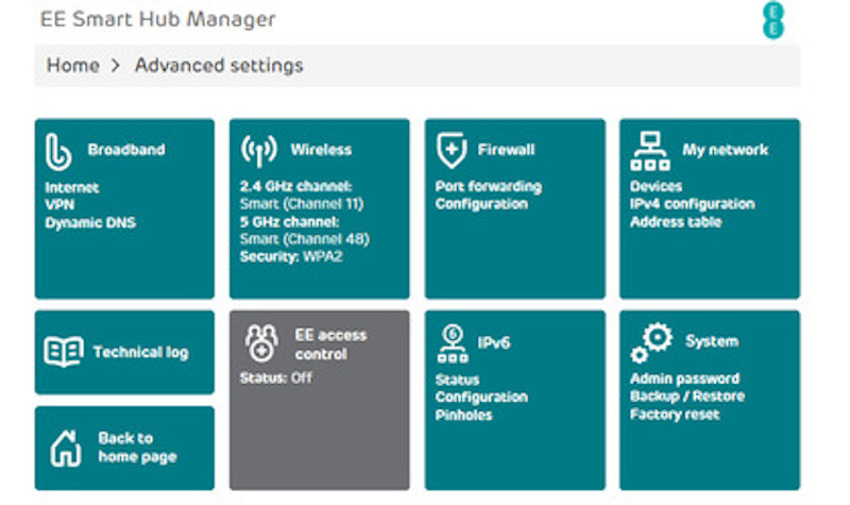
-
You can now work out your EE broadband password from the user name. Grab the numbers from the user name and add
HQNPASSin front of them. For example if your user name isPRODUCTIONHQNUN123456789@fs, your password isHQNPASS123456789 -
Disconnect your smarthub and connect the Draytek Vigor 130 modem to your ADSL filter as per the setup. Switch the modem on.
-
You now need to login to the modem. Connect a computer with an ethernet connection directly into the modem with a cat5 ethernet cable and navigate your browser to
http://192.168.2.1. The default username/password combo is admin/admin. (Note: this is probably also a good time to update the firmware if you need to, and to change the admin credentials from the defaults but I won’t go into that here) -
We need to put the modem into bridge mode. Go to
Internet Access -> MPoA / Static or dynamic IPand clickEnable, thenOk. ClickOkwhen prompted to reboot. The modem will take a few seconds to restart with the new settings.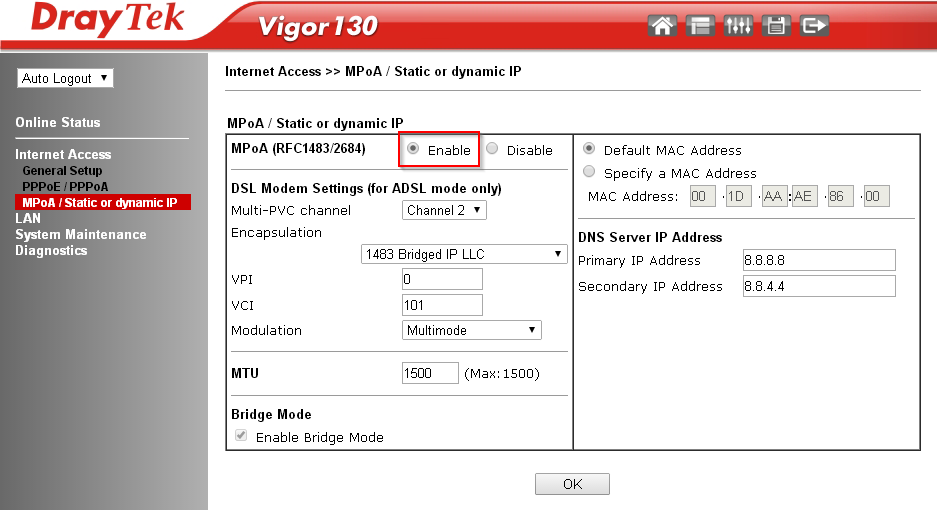
-
Unplug the cat5 from your laptop and connect the modem to the Nest Wifi
wansocket (that’s the one with the little globe icon). Switch the router on. -
Now set up the Nest Wifi via the Google Home app on your mobile or tablet. You’ll have to scan the minuscule QR code on the base of the unit. The wifi router should try to connect, then the app will tell you that it needs further set up info for your broadband. At this point you’ll need to select
PPPoEand fill in with the EE broadband user name/password combination you got from the Smarthub earlier. -
Finish the WiFi setup as per the Google Home app instructions, set ssid and password etc. and you’re done.
You should now be good to reconnect all your devices to your brand new Wifi network. The additional Nest Wifi mesh point was super easy to set up, the flow is pretty much the same as any other Google Home device.
And… so far so good on the WiFi range - we have speedy and strong WiFi in the kitchen, right to the end of the garden and beyond. A marked improvement on the previous setup!